The part of the whole bowl-making process (see How Long Does It Take? – The Linden Wood Studio (cloudwaysapps.com) ) that interests people the most, is the shortest part: turning a blank into a bowl. So let’s look at that part of the process.
Step 1: Setting the blank on the lathe
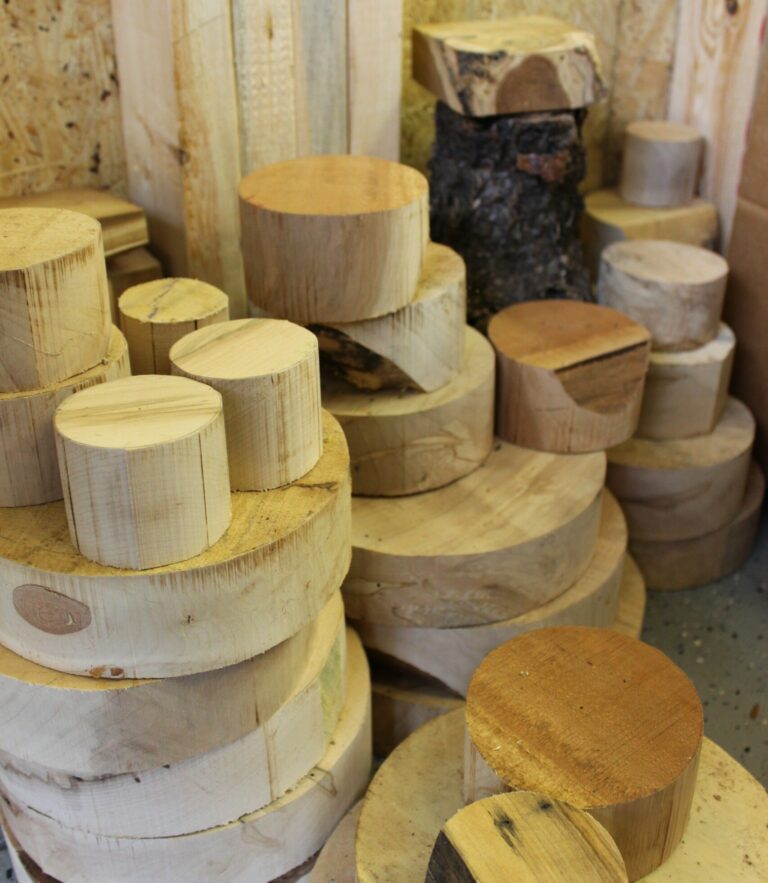
The blank is the disk of wood that has been seasoned and sawed to size (the picture above shows several in line to be bowls). It is affixed to the lathe with a chuck, a metal attachment that holds the blank and fastens to the lathe.
One of the chucks I use a lot.
Step 2: Turning the blank
And so it begins. I work with the wood; I let it “tell” me how things should go.
Step 3: Sanding the outside
Once the shape is achieved, sanding is in order. I use five different grits to get the smoothness I want.
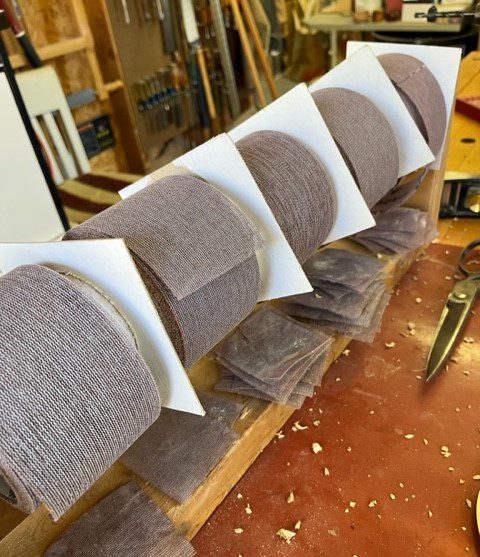
My homemade sandpaper dispenser holds rolls in order from coarser to finer.
Step 4: Turning the inside

When the outside is good, I turn the blank around so I can work the inside. I still don’t know what it looks like inside. Time to open the gift!
Now to hollow out the inside of the bowl. It is always a surprise to reveal the pattern of the grain and any spalting.
[Spalting is any coloring on wood caused by a fungus. Check out this post for more info: http://lancasterliveedge.com/blog/what-is-spalted-wood/ ]
And then I refine the surface,
and use calipers to be sure the walls are even and the right thickness.
Step 5: More sanding
This time on the inside. It’s now blank to bowl.
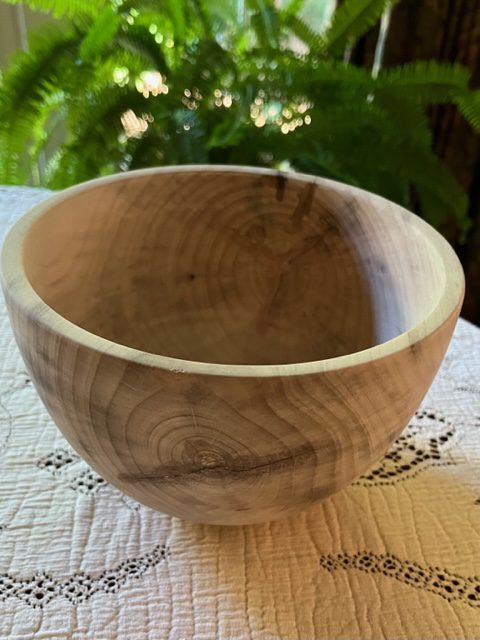
Here’s the bowl ready to finish. More on that later.
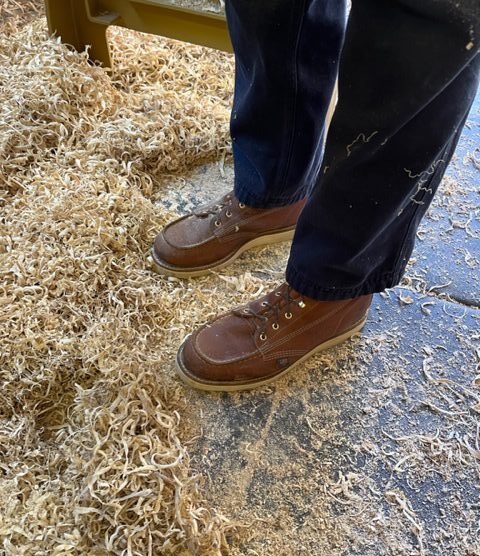
And here is what was not bowl. I’ll use the shavings as mulch and tinder. Nothing wasted!